Planning and Preparation
Toe kicks are an important design element in kitchens, adding a touch of style and functionality to the space. They serve as a protective barrier for your cabinets, preventing them from getting damaged by kicked feet or spills. Additionally, they provide a subtle visual transition between the cabinets and the floor, enhancing the overall aesthetic appeal of your kitchen.
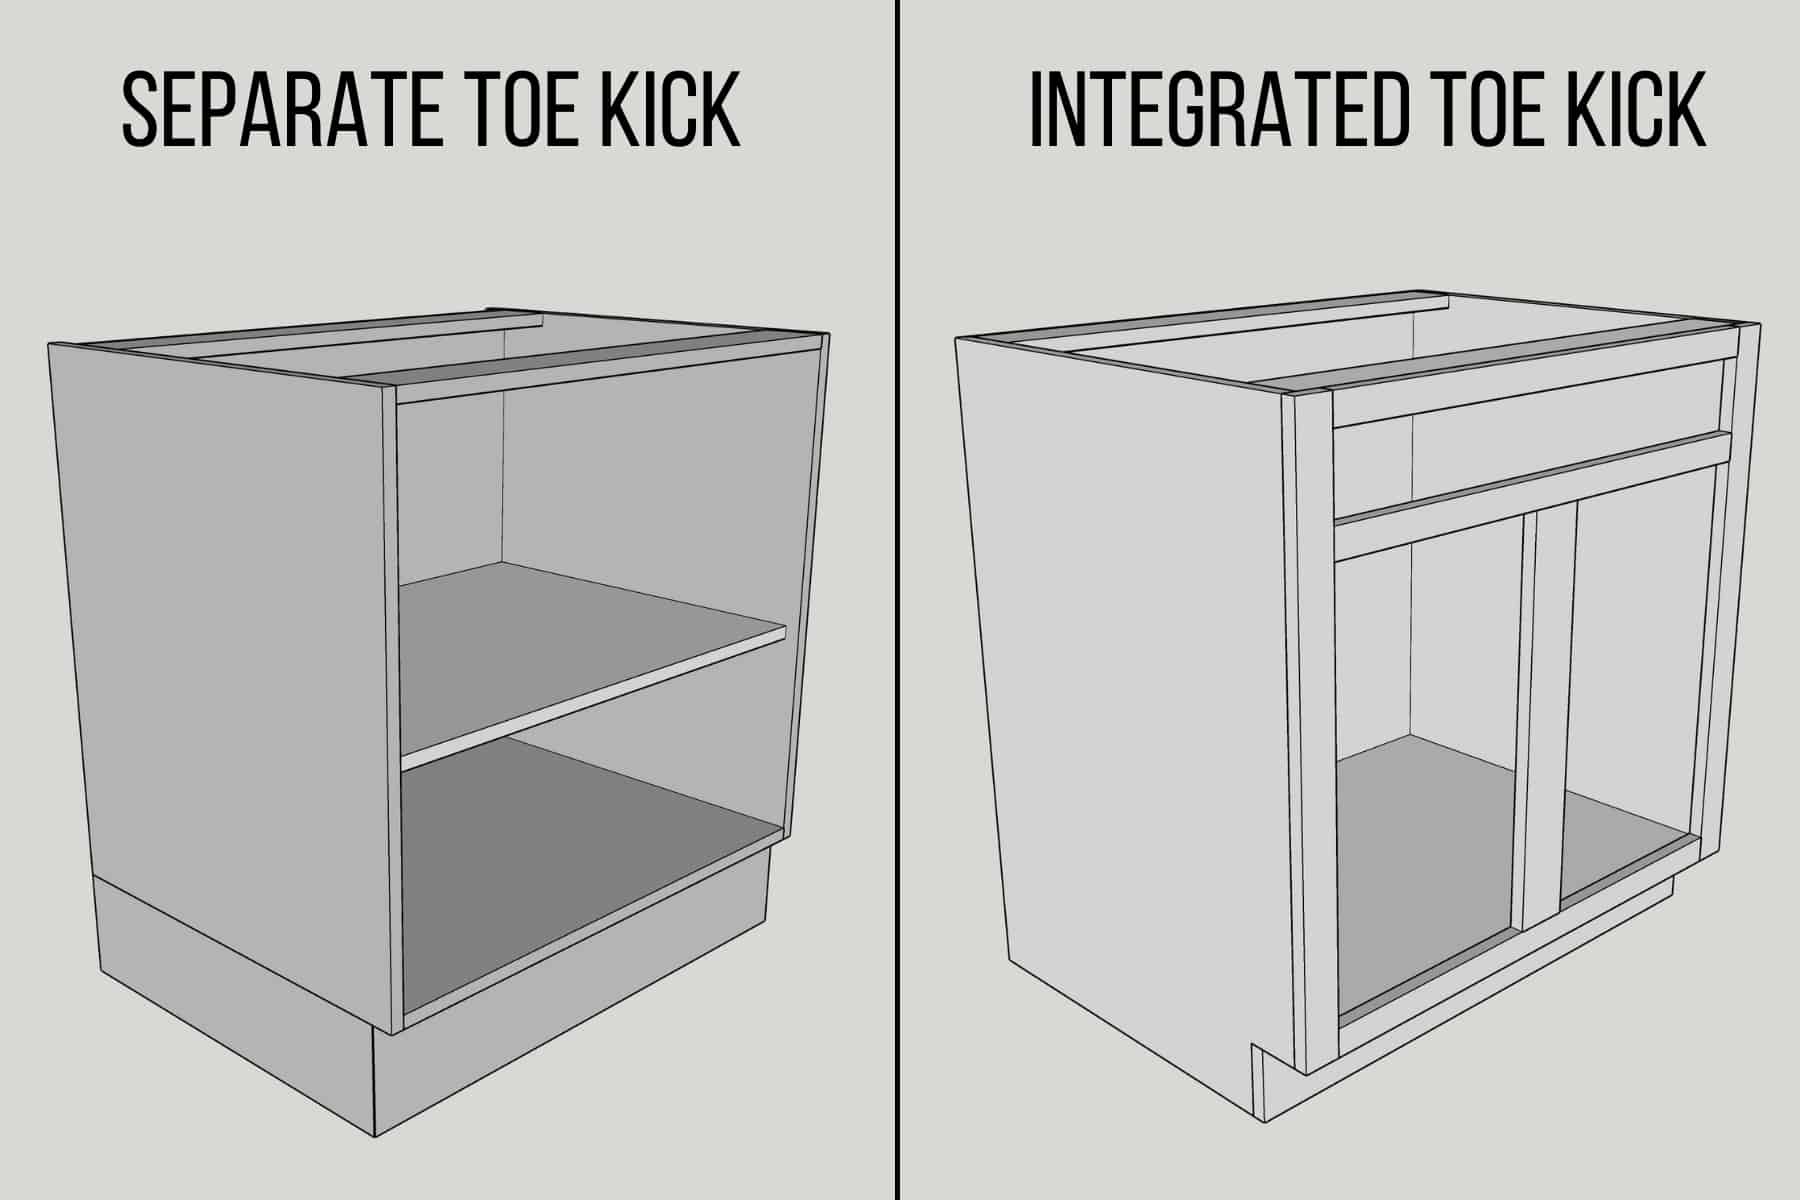
Materials for Toe Kicks
The material you choose for your toe kicks will significantly influence their durability, appearance, and cost. Here’s a breakdown of common materials and their pros and cons:
- Wood: Wood toe kicks are a classic choice, offering a natural look and the ability to be stained or painted to match your cabinets. They are relatively easy to install and can be customized to fit your specific needs. However, wood can be susceptible to scratches, dents, and moisture damage, requiring regular maintenance.
- Laminate: Laminate toe kicks are a more affordable and durable option, offering a wide variety of colors and patterns. They are resistant to scratches, stains, and moisture, making them a practical choice for busy kitchens. However, laminate can be less visually appealing than wood and may not be as easy to customize.
- Metal: Metal toe kicks, typically made from aluminum or stainless steel, offer exceptional durability and resistance to scratches, dents, and moisture. They are also easy to clean and maintain. However, metal can be more expensive than wood or laminate and may not blend seamlessly with all kitchen styles.
Determining Toe Kick Height, How to install toe kicks on kitchen cabinets
The height of your toe kicks is crucial for ensuring comfort and functionality. Here’s a step-by-step guide to determine the optimal height:
- Measure your floor: Use a measuring tape to determine the height of your floor from the ground. This will be your starting point.
- Consider your height: Stand in your kitchen and measure the distance from the floor to the bottom of your knees. This measurement will give you an idea of the comfortable height for your toe kicks.
- Calculate the desired height: Add 3 to 4 inches to the floor height measurement to account for the thickness of the toe kick and a comfortable clearance for your feet. This will be your desired toe kick height.
- Adjust for existing cabinets: If you are installing toe kicks on existing cabinets, ensure that the height you calculate allows for proper clearance and does not interfere with the cabinet doors or drawers.
Tools and Equipment
Having the right tools and equipment on hand will make the installation process smoother and more efficient. Here’s a list of essentials:
- Measuring tape: Accurate measurements are crucial for a perfect fit.
- Level: Ensures that your toe kicks are installed level and straight.
- Circular saw or jigsaw: Used to cut the toe kick material to the desired length and shape.
- Drill: For drilling pilot holes and securing the toe kicks to the cabinets.
- Screwdriver: For attaching the toe kicks to the cabinets.
- Safety glasses: Protect your eyes from dust and debris during the installation process.
- Work gloves: Protect your hands from cuts and splinters.
Installation Process: How To Install Toe Kicks On Kitchen Cabinets

Now that you have your toe kicks prepped and ready to go, let’s get into the nitty-gritty of attaching them to your cabinets. This part is all about making sure your toe kicks are firmly in place and looking sharp. We’ll cover the most common installation methods, so you can choose what works best for your setup.
Attaching Toe Kicks with Screws
Screwing toe kicks to your cabinets is a classic and reliable method. This technique is usually the go-to choice for those who want a secure and durable connection. Here’s how to do it:
- Start by marking the location of your toe kick on the cabinet face, ensuring that it’s level and aligned with the other cabinets.
- Use a drill bit that’s slightly smaller than the diameter of your screws to create pilot holes in the marked spots. This helps prevent the wood from splitting when you drive in the screws.
- Attach the toe kick to the cabinet using screws. Make sure to choose screws that are long enough to go through the toe kick and into the cabinet, but not so long that they poke through the other side.
- If you’re working with a thicker toe kick, you may need to use a countersinking bit to create a recessed hole for the screw head. This helps keep the screw head flush with the surface of the toe kick.
Attaching Toe Kicks with Adhesive
For a more seamless look, you can use adhesive to attach your toe kicks. This method is especially helpful when you don’t want visible screws or when you’re working with a thinner toe kick.
- Start by cleaning the surfaces of your cabinets and toe kicks with a damp cloth to ensure a strong bond.
- Apply a bead of construction adhesive along the bottom edge of the toe kick.
- Press the toe kick firmly against the cabinet, making sure it’s level and aligned.
- Use clamps to hold the toe kick in place while the adhesive dries. This will help prevent the toe kick from shifting and ensure a strong bond.
- Allow the adhesive to dry completely according to the manufacturer’s instructions.
Attaching Toe Kicks with Clips
Clips are another option for attaching toe kicks, offering a fast and easy installation process. They are often used for pre-fabricated toe kicks.
- Start by installing the clips on the cabinet face, following the manufacturer’s instructions.
- Slide the toe kick into the clips, ensuring it’s level and aligned.
- Some clips may require additional screws or fasteners to secure the toe kick in place.
Cutting Toe Kicks to Fit
When you’re working with corners or curves, you’ll need to cut your toe kicks to fit the shape of your cabinets. Here’s how to make those cuts:
- Measure the area where the toe kick will be installed, taking into account any curves or angles.
- Use a saw, such as a circular saw or jigsaw, to cut the toe kick to the desired size and shape.
- For curves, you can use a jigsaw with a curved blade or a coping saw.
- Be sure to make your cuts accurately and smoothly to ensure a clean and professional finish.
Ensuring Proper Alignment and Levelness
To avoid a wonky-looking installation, it’s essential to ensure your toe kicks are level and aligned with each other.
- Use a level to check the alignment of the toe kicks as you install them.
- If needed, adjust the toe kicks by tapping them gently with a rubber mallet until they’re level.
- Double-check the alignment of the toe kicks with the cabinets and each other before securing them permanently.
Finishing Toe Kick Edges
Once your toe kicks are installed, you can add a finishing touch by adding trim or molding to the edges.
- Choose a trim or molding that complements your cabinets and the overall style of your kitchen.
- Cut the trim or molding to the desired length and shape.
- Attach the trim or molding to the edges of the toe kicks using adhesive, nails, or staples.
- Be sure to use finishing nails or staples that are small enough to avoid splitting the wood.
Additional Considerations

Installing toe kicks is a simple yet important part of your kitchen remodel, but there are some things to keep in mind to make sure you get the best results. Whether you’re going for a sleek modern look or a classic traditional style, understanding the different options and considerations will help you achieve the perfect finish for your kitchen.
Pre-made vs. Custom Toe Kicks
Pre-made toe kicks offer a convenient and cost-effective option for most kitchens. They come in standard sizes, making installation a breeze. However, if you have unique cabinet configurations or require specific dimensions, custom-made toe kicks are the way to go.
- Pre-made toe kicks are generally less expensive and readily available, making them a good choice for standard kitchen layouts.
- Custom-made toe kicks provide flexibility in terms of size and design, allowing you to perfectly match your cabinets and achieve a seamless look.
- Consider the cost and availability of both options when making your decision. Pre-made toe kicks are generally more affordable and readily available, while custom-made toe kicks offer greater flexibility in terms of size and design.
Installing Toe Kicks in Different Configurations
Installing toe kicks on islands and peninsulas requires some extra attention. The process is similar to installing toe kicks on standard cabinets, but you’ll need to consider the unique shape and size of these features.
- For islands and peninsulas, measure the length and width of the area where the toe kicks will be installed.
- Cut the toe kicks to size and secure them to the cabinet base using construction adhesive and screws.
- Ensure that the toe kicks are level and flush with the cabinets for a clean and professional finish.
Maintaining and Cleaning Toe Kicks
Keeping your toe kicks clean and in good condition is essential for preserving their appearance and longevity. Regular cleaning and maintenance will help prevent dirt and grime from accumulating, ensuring they remain a stylish and functional part of your kitchen.
- Use a damp cloth and mild soap to wipe down your toe kicks regularly.
- Avoid using harsh chemicals or abrasive cleaners that can damage the finish.
- For stubborn stains, use a gentle cleaner specifically designed for wood or laminate surfaces.
Common Mistakes to Avoid
Installing toe kicks can be a straightforward process, but there are some common mistakes to watch out for. These can affect the final look and functionality of your toe kicks, so it’s best to be aware of them and take steps to avoid them.
- Not measuring accurately: Always double-check your measurements before cutting the toe kicks. A small error can lead to uneven or misaligned toe kicks.
- Using the wrong type of adhesive: Make sure to use a strong construction adhesive that is specifically designed for wood or laminate surfaces.
- Not securing the toe kicks properly: Ensure that the toe kicks are securely fastened to the cabinet base using screws or nails.
How to install toe kicks on kitchen cabinets – Installing toe kicks on kitchen cabinets is a simple yet effective way to elevate the look of your kitchen. Adding toe kicks not only provides a finished look but also helps to protect your cabinets from wear and tear.
If you’re looking for a budget-friendly way to update your kitchen, consider a “flip or flop” makeover, like this one , which can transform your space without breaking the bank. Once you’ve decided on your style, installing toe kicks is a straightforward process that can be completed with basic tools and a little time.
Installing toe kicks on kitchen cabinets can be a rewarding DIY project, adding a finished look and protecting your cabinets from dust and debris. While toe kicks are functional, they can also be stylish, much like a modern bedroom tv unit that complements your décor.
Just like a modern tv unit, toe kicks can add a touch of sophistication to your kitchen, making the entire space feel more cohesive and put together.

